Turn an Existing Photo into a Different Art Style With AI
 By ImageHub 7 min read
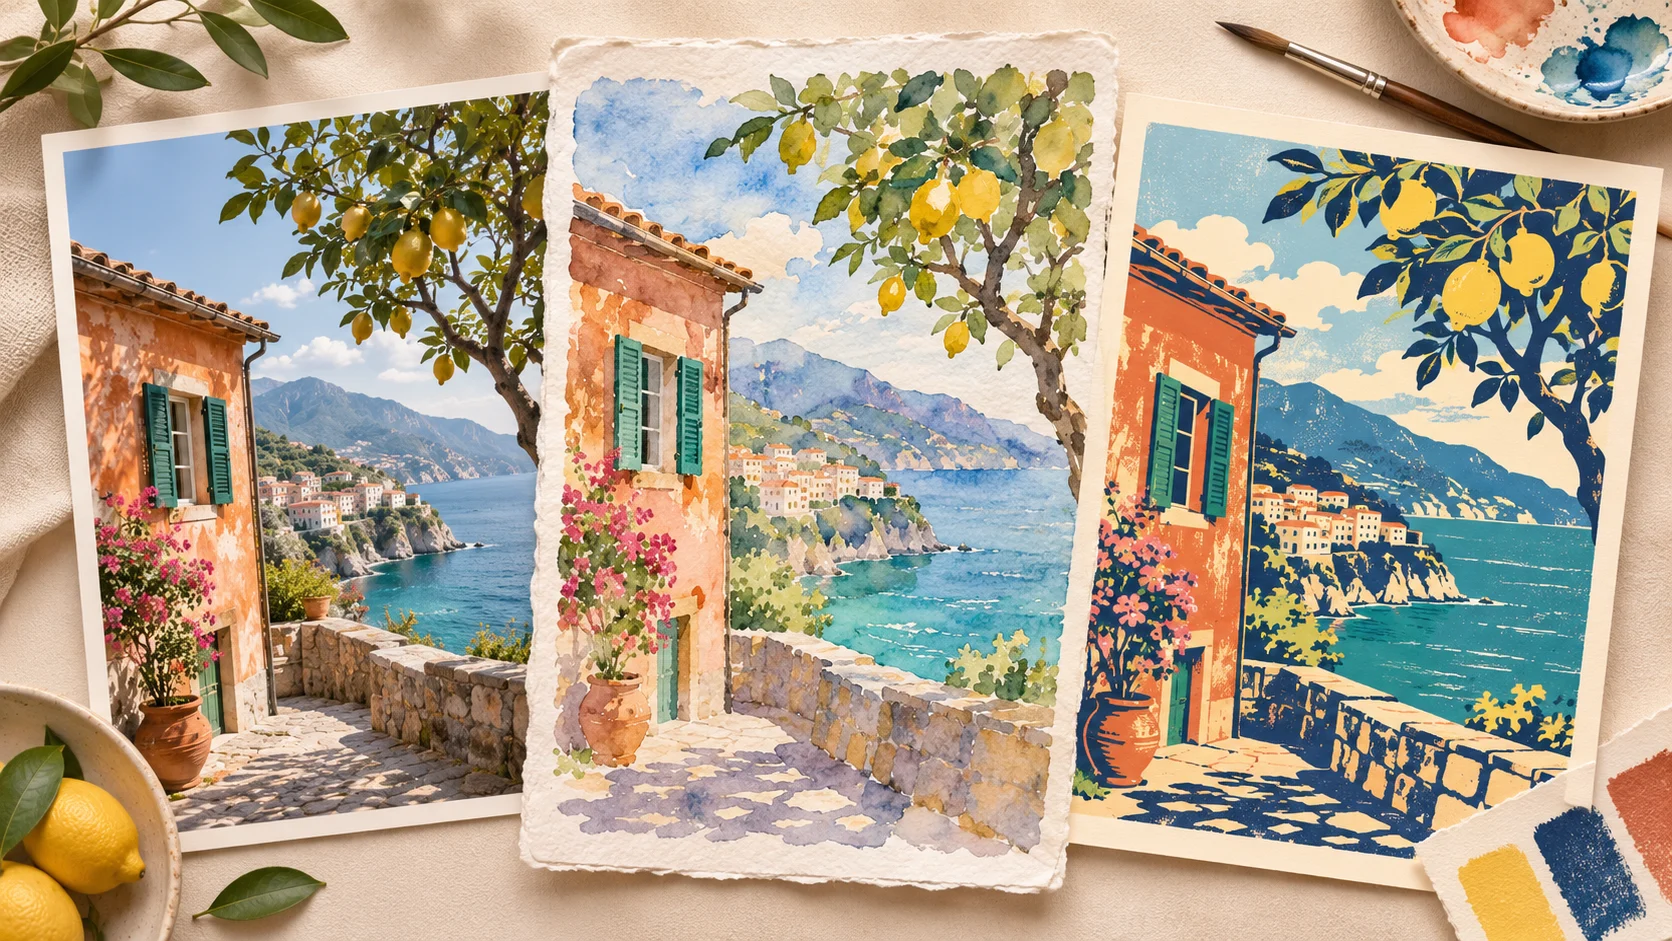
A travel photo might work as a soft watercolor for a card, a textured painting for a keepsake, or a bold illustration for a cover. You already have the scene. The creative decision is how you want it to look.
To change photo art style with AI, upload an existing picture, describe one visual style, and name the parts of the image you want to preserve. Then compare the generated version with the source. A successful restyle makes the new medium clear while keeping enough of the original subject and composition to feel connected to your photo.
This guide focuses on changing the overall visual treatment. It does not walk through removing individual objects or making precise local edits.
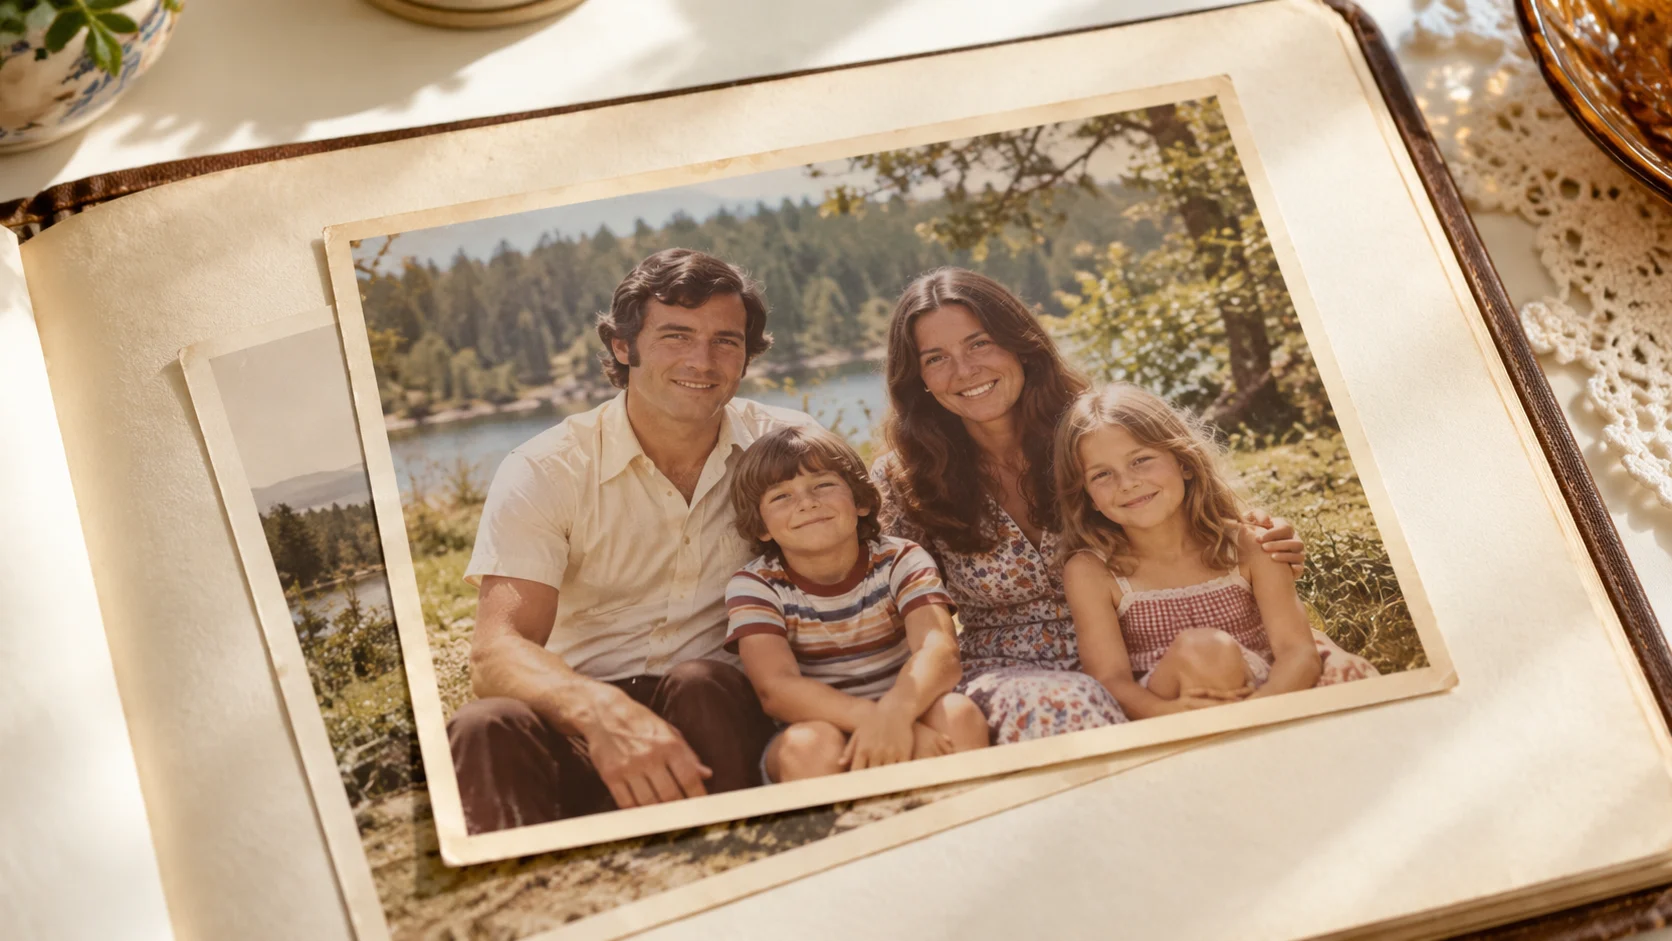
Choose a photo with a clear visual focus
Start with a picture whose main subject is easy to identify. A pet against a simple background, a portrait with an unobstructed face, or a building with a strong silhouette gives you a useful starting point.
Before uploading, decide what makes this particular photo worth keeping. For a dog portrait, it might be the tilted head and distinctive ear markings. For a street scene, it might be the curve of the road and the red building at its end. Write down those details; they belong in your prompt.
Use these checks to choose between similar photos:
- Subject: Can you recognize the person, animal, or object without zooming in?
- Framing: Is the important part fully inside the image, with enough room around it?
- Lighting: Can you see the features you want the artwork to preserve?
- Background: Does it support the subject, or compete with it?
- Small details: Would you still like the image if tiny lettering or fine patterns changed?
Keep an untouched copy. It lets you explore several styles without gradually replacing the source with earlier AI interpretations.
How to restyle a picture in ImageHub
Open ImageHub’s Image-to-Image tool to restyle an image using AI. The workflow uses an uploaded image and a written prompt, followed by generation and download. JPG, PNG, and WebP are supported.
Upload your source image
Choose the photo you want to transform. For a first attempt, use one clear subject and keep the original framing. Decide on the artistic treatment before writing the prompt.
Describe the style and what should stay
In the prompt field, specify a medium such as watercolor, oil painting, or graphite drawing. Add a small number of visual qualities: soft washes, visible brushwork, crosshatching, or flat color shapes. Then state what should remain recognizable.
A useful starting structure is:
Restyle this photo as [medium], with [texture or line treatment] and [palette or mood]. Preserve [key subject features] and [framing or composition].
For a travel photo, that could become:
Restyle this coastal village photo as a watercolor illustration with translucent washes, soft edges, and a muted blue-and-terracotta palette. Preserve the main house, the curve of the coastline, and the original viewpoint.
This describes a visual direction without also asking for a different location, time of day, or camera angle. Preservation requests are guidance, not a guarantee that every feature will remain unchanged.
Generate, inspect, and download
Select Generate, wait for the result, and compare it with the source. Check the overall composition first, then inspect the details that matter to you. Download the version you want to keep.
The prompts below are starting points to try, not a record of tested ImageHub outputs. Adjust them to match what is actually in your photo.
Four art directions with prompts to try
Watercolor: soft edges and translucent color
Choose this direction when you want a light, painted interpretation of flowers, a travel scene, or a portrait. Ask for visible paper and restrained color if the first result feels too glossy.
Turn this photo into a watercolor illustration with translucent color washes, subtle paper texture, and soft edges. Keep the main subject’s silhouette and the original framing. Use a restrained palette drawn from the photo, with more detail around the focal point.
Look for a clear focal point within the softer treatment. If every edge dissolves, ask for firmer definition around the subject rather than making the entire image sharp.
Oil painting: brushwork and depth
Try oil painting when you want richer surface texture and visible strokes. Describe the treatment directly so “painting” does not simply become a smooth digital image.
Reinterpret this photo as an oil painting with visible brushstrokes, layered color, and a matte canvas feel. Preserve the subject’s pose, proportions, and position in the frame. Keep the original lighting direction and simplify minor background details.
Check whether the brushwork supports the subject. On a portrait, broad strokes may suit clothing and the background, while the eyes and mouth need enough definition to remain recognizable.
Pencil sketch: shape and shading
A pencil treatment can suit architectural photos, pet portraits, and compositions with strong outlines. Specify graphite and grayscale if you want a drawing without color.
Restyle this photo as a graphite pencil drawing on off-white paper. Use varied line weight and gentle crosshatching for shadows. Preserve the main outlines, the subject’s proportions, and the original viewpoint. Keep the image grayscale with no added objects or lettering.
Inspect the balance of outlines and shading. If every surface becomes equally dark, ask for lighter background marks and stronger emphasis on the main subject.
Graphic illustration: bold shapes and a limited palette
Try this direction when the image needs to read clearly at a small size, such as on a cover or social post. Simplification is part of the intended treatment, so choose the details you are comfortable losing.
Transform this photo into a graphic illustration with clean silhouettes, flat color areas, and subtle screen-print texture. Use navy, terracotta, cream, and muted teal. Preserve the main subject and its placement, simplify background clutter, and add no text or border.
Compare the result at thumbnail size. The subject should still read clearly, even though small textures and subtle gradients may have been replaced by larger shapes.
Refine one part of the prompt at a time
“Make it artistic” leaves many decisions open. A prompt that asks for watercolor, photorealism, heavy oil texture, and comic outlines at once can be equally difficult to judge.
After the first attempt, name the most noticeable mismatch. Change the wording that addresses that mismatch, then try again from the original image:
- Too little style change: Specify the marks you want to see, such as visible brushstrokes, translucent washes, or pencil crosshatching.
- A different-looking subject: Remove unrelated scene changes and emphasize two or three identifying features, along with the original pose.
- A crowded result: Ask for simpler background shapes while retaining the main subject and scene layout.
- An overly polished finish: Describe matte paper, uneven pigment, or visible drawing marks rather than adding more words such as “perfect” or “ultra-detailed.”
Keep the other instructions consistent. Generated results can still vary, but changing one instruction at a time makes your comparison easier to interpret.
For example, if a watercolor pet portrait loses the dog’s dark ears, revise “preserve the dog” to “preserve the dark ears, white muzzle, and tilted head.” That gives you a concrete feature to inspect in the next result.
Compare styles fairly before choosing one
Start each style from the same original photo. Feeding a watercolor result into an oil-painting attempt also carries forward the watercolor version’s changes, making it harder to compare the styles themselves.
Keep the output beside the source and review these four points:
- Recognition: Do the defining facial features, pet markings, or building shapes still make sense?
- Composition: Is the main subject still positioned as intended? Check the crop and the space around it.
- Style: Can you identify the requested medium from the lines, edges, texture, and color treatment?
- Artifacts: Look for malformed hands, duplicated objects, distorted glasses, and lettering that changed into unreadable marks.
View the artwork at its intended display size as well as close up. A texture that looks appealing at full size may become distracting in a small avatar. Save candidates with useful names such as coast-watercolor and coast-graphic, keeping each file’s downloaded extension.
Explore an art-focused starting point
If your next goal is another painted or illustrated interpretation, ImageHub’s Art Generator from Image provides an art-focused page with prompt suggestions and examples. You can bring the same source photo and describe the medium you want to explore.
Treat it as another starting point for the task. You do not need to run a finished restyle through a second tool, and switching pages does not guarantee a better result.
Choose one photo, one art direction, and a few details worth preserving. Try the image-to-image workflow, review the result, and refine the instruction that would make the biggest difference.
Cover image: AI-generated concept illustration of different visual treatments, not verified ImageHub outputs.
Frequently asked questions
Can I change a photo's art style while keeping the same subject?
You can use the photo as a reference and ask to preserve its subject, pose, and framing while changing the medium. Those instructions guide the result but do not guarantee an exact match. Compare recognizable features and important objects before choosing a version.
Do I need a second reference image for the style?
Not for the workflow in this guide. Upload one source image and describe the desired style in the prompt, including its medium, texture, and colors. The examples here use that single-image workflow.
Why does the result look like a different photo?
A prompt that changes the setting, pose, lighting, and art medium at once gives the model many competing directions. Return to the original image, choose one medium, and name the two or three visual features that matter most. Some variation can remain even with clear instructions.
Can I compare several art styles using the same photo?
Yes. Start each version from the same original file and keep your subject and framing instructions consistent. Change the style description for each attempt, then compare the results at the same viewing size.