Restore Faded Family Photos While Keeping Natural Details
 By ImageHub 6 min read
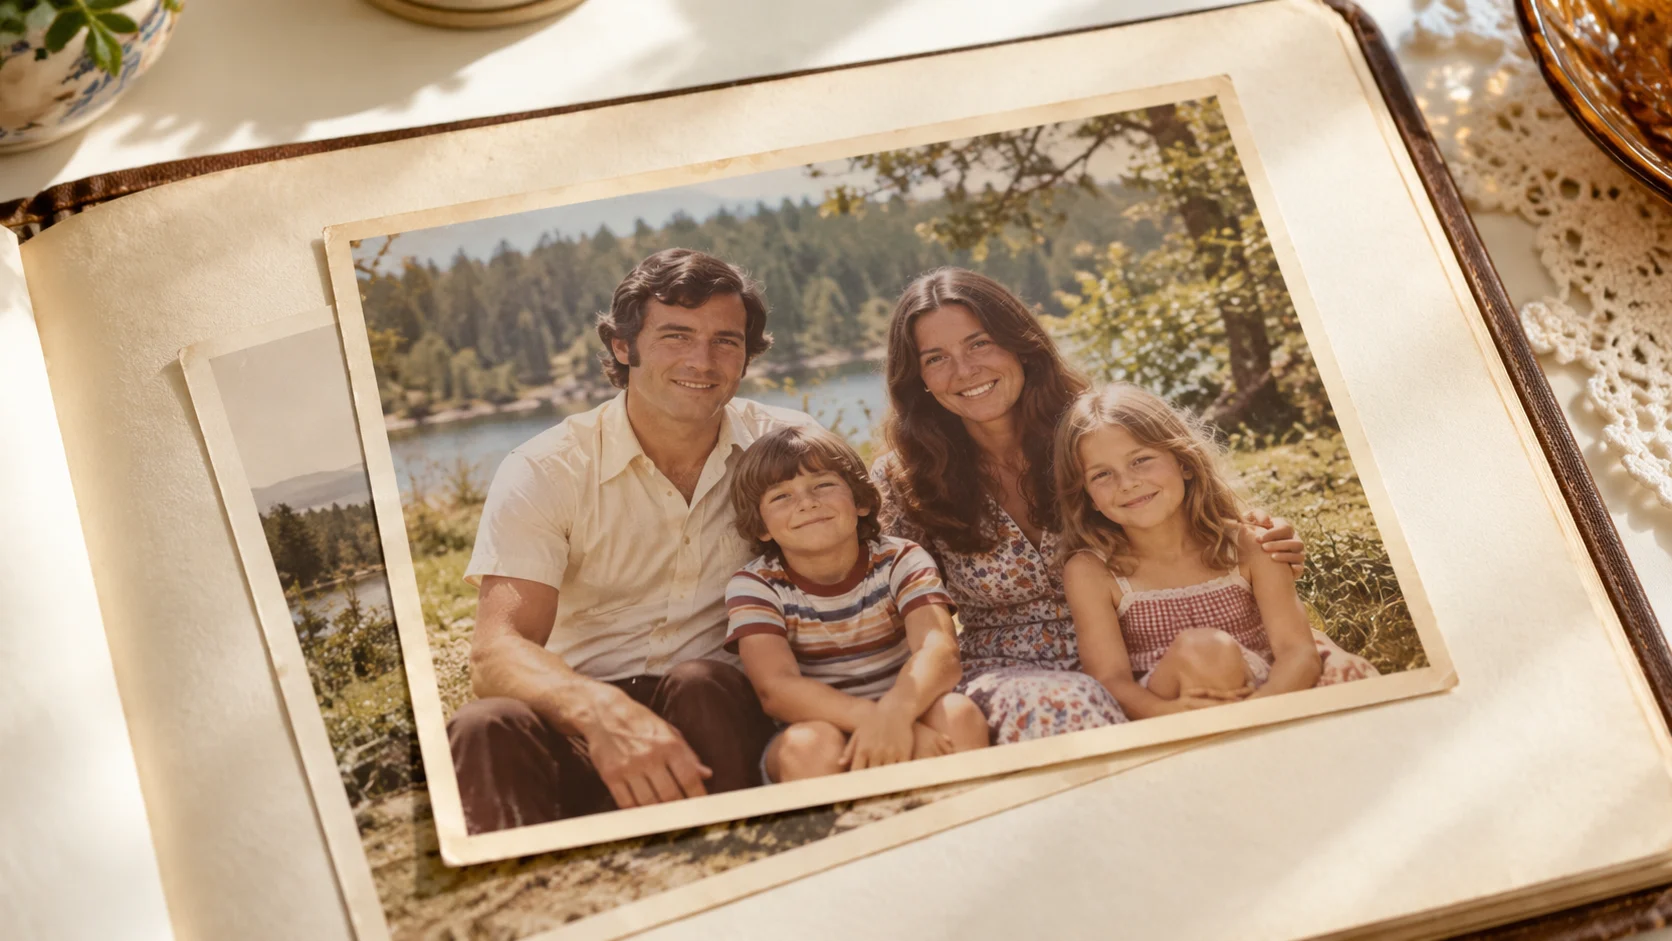
A faded family photo can still hold the details you care about: a familiar expression, the pattern on a dress, the shape of a childhood home. The challenge is making those details easier to see without turning the picture into something your family no longer recognizes.
To restore faded family photos, work from a copy, improve the remaining color and contrast, and compare the result with the original before saving it. A brighter image is useful only if the faces, textures, and mood still feel right. Missing information cannot be verified simply because an AI result looks convincing.
This guide starts with a digital copy of your photograph and focuses on fading. Choosing scan settings and repairing scratches or creases are separate jobs.
Identify what has faded before you start
“Faded” can describe several different problems. Look at the whole picture first, then inspect a face, a light area, and a dark area.
| What you notice | Better result |
|---|---|
| The entire picture looks washed out | More separation between light and dark areas, with detail still visible in both |
| Skin, clothing, and the background share a yellow, red, or blue tint | A more believable color balance, without making naturally warm light look cold |
| Colors look weak but shapes are still clear | A restrained increase in color intensity, especially around skin |
| One area is almost blank | An honest limit: improving nearby tones cannot confirm what used to be there |
Choose one priority before editing. For example: “Make the faces easier to see while keeping the cream dress light.” That gives you a more useful target than “make everything sharper and more colorful.”
Restore faded family photos in ImageHub
Keep an untouched copy
Save the original digital file somewhere separate before uploading a working copy. Use the best version you already have, rather than a screenshot of a photo someone shared in a message.
Pick two or three details to compare later: a person’s smile, the edge of their hair, and a distinctive fabric pattern work well. These are your reference points if the result becomes more polished but less faithful.
Upload the photo and make a first restoration
If you want to restore color in old photos, start with ImageHub’s Photo Restoration tool and assess what it improves in your particular image. It accepts JPG, PNG, and WebP uploads and runs an automatic restoration workflow. It is designed to improve clarity and resolution; exact original-color recovery is not guaranteed.
Open the upload area, choose your working copy, and let the restoration finish. Use the Before and After views to compare the result. There is no need to write a prompt or follow a set of manual color-slider values for this step.
Treat this first result as a candidate. You are checking whether the photo is easier to read and still recognizable, rather than assuming that every change is an improvement.
Compare the result at two sizes
First, view both versions at roughly the size you plan to share them. Check whether the family is easier to see, whether the lighting still makes sense, and whether any one color now dominates.
Then inspect the downloaded result at 100% in an image viewer, alongside the original. Pay special attention to small faces in group photographs. A face can look clear at thumbnail size while showing altered eyes or an unfamiliar mouth shape up close.
If the result changes someone’s expression or adds obvious texture that was not visible in the original, keep the source file and choose a more restrained edit. Do not keep processing the changed version in the hope that it will become more accurate.
Download a separate restored version
Download the result you prefer and keep its filename distinct from the original. For example, save family-picnic-original.jpg alongside family-picnic-restored.webp, keeping the actual extension supplied by the download.
If the first restoration is already clear and natural, stop there. A second pass is a choice, not a required finishing step.
Adjust color and contrast gently if fading remains
An automatic result may improve definition while leaving a color cast or flat tones. If you need finer control, open a copy in a photo editor with tonal and color adjustments. The controls below describe a manual editing workflow, not additional sliders in ImageHub’s restoration tool.
Separate contrast from brightness
Brightness changes alone may leave a faded picture looking pale. In an editor with Levels, adjust the dark and light endpoints cautiously, then refine the midtones. Keep checking whether folds in dark clothing and detail in pale faces remain visible. Adobe’s Levels guide explains these controls and how to preview clipping. Use an adjustment layer where available so you can revise the edit.
Correct a color cast before adding intensity
If the whole image leans red or yellow, more saturation may make that tint stronger. Make a small color-balance correction first. A gray-point control can help when you can identify something that should genuinely be neutral; Adobe covers it in the same Levels guide. Do not assume that aged paper, a cream dress, or a wall in sunset light should be pure white.
Increase saturation only as needed
Saturation controls color intensity; it does not reveal the verified original color of a faded object. Adobe’s Hue/Saturation documentation distinguishes it from hue and lightness and explains how to adjust individual colors.
For this task, watch skin first. If a small adjustment helps a blue shirt but makes faces look orange, reduce it or work on that color separately. Aim for a believable family photograph, even if it remains softer and less vivid than a modern phone picture.
Check that natural details survived
Use the original as your reference for identity and texture, even when its colors are hard to judge. This checklist helps you decide whether a restoration is worth keeping:
- Faces: The eyes, smile, face shape, and apparent age still match. Check each person individually.
- Skin: Shading and visible texture remain. Faces should not look waxy or uniformly smooth.
- Hair and glasses: Fine edges do not turn into thick outlines, bright halos, or repeated patterns.
- Clothing: Stripes, buttons, lace, and folds stay consistent with what you can see in the source.
- Light and shade: Pale areas retain detail, and dark jackets or hair do not collapse into solid black.
- Color: Skin and surroundings belong to the same lighting conditions. A warm indoor scene can remain warm.
Consider a hypothetical family picnic photo: stronger greens and a whiter tablecloth might make it look fresh, but they are not a success if a grandparent’s smile changes. Prefer the version that clarifies the memory while preserving the people in it.
When an image enhancer is a useful next step
If the color and contrast now look reasonable but the photo still seems a little soft, you can compare a copy using ImageHub’s Image Enhancer. It offers a separate way to improve overall clarity and presentation.
Keep that result beside the first restoration rather than replacing it immediately. Repeat the face-and-texture check above. If the extra pass gives you harsher edges or smoother skin without a useful improvement at your intended viewing size, keep the earlier version.
If your main problem is still a strong color cast, concentrate on color balance instead of repeatedly enhancing the image.
Save the memory, not just the most vivid version
Before you share the finished photo, compare it with the untouched file one last time. Ask whether you made the people and setting easier to recognize, and whether any change needs to be described as an interpretation.
Keep both files, and label a heavily reconstructed or recolored version when sharing it as part of a family archive. If someone in the family remembers the scene, their input can help you judge uncertain colors; a plausible AI result alone cannot settle them.
You may be able to recover faded photo detail that is still faintly visible. When the source no longer contains that information, the better goal is a useful, clearly labeled restoration rather than an invented certainty.
Start with one photograph in ImageHub Photo Restoration, compare the result carefully, and keep the version that still feels like your family.
Cover image: AI-generated editorial illustration, not a before-and-after restoration result.
Frequently asked questions
Can you restore color in a badly faded family photo?
Sometimes you can improve the remaining color and contrast enough to make the photo easier to read. If a color or facial detail has disappeared completely, an AI-generated replacement is an estimate, not proof of the original appearance. Keep the untouched file alongside the restored version.
How can I fix faded family pictures without making them look oversaturated?
Judge the color cast and contrast before adding saturation. Check skin, pale clothing, and dark fabric separately. If faces turn orange or clothing becomes unnaturally vivid, back off the color adjustment or return to the original and try a gentler edit.
Is restoring a faded photo the same as colorizing a black-and-white photo?
No. Restoring a faded color photo works with whatever color information remains. Colorization adds an interpretation of colors to an image that does not record them. For a black-and-white family photo, improving tonal contrast does not require adding color.
Should I enhance the photo again after restoring it?
Only if a specific problem remains. Compare any enhanced version with both the original and the first restoration, especially around eyes, hair, and clothing. Keep the first restoration if another pass makes faces smoother, edges harsher, or colors less believable.